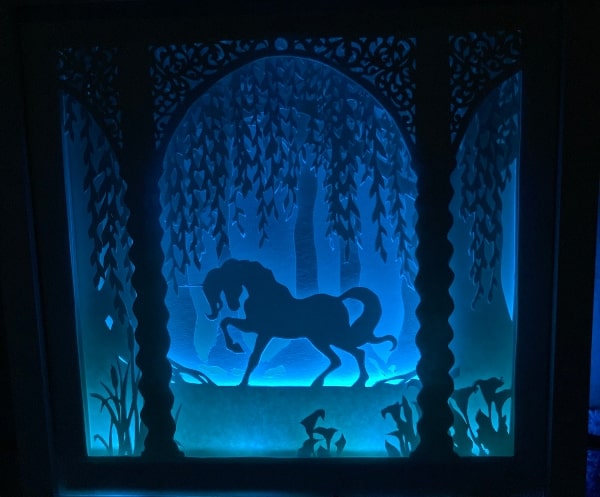
Over the years, I’ve made a few paper light boxes — only two, technically — but each one has been far more intricate and mysterious than the typical paper light boxes you often see online. Because of that, I wanted to share my personal process with you. This is not a quick craft, but it is deeply rewarding if you enjoy slow, detailed work.
Step 1: Sketch Your Concept
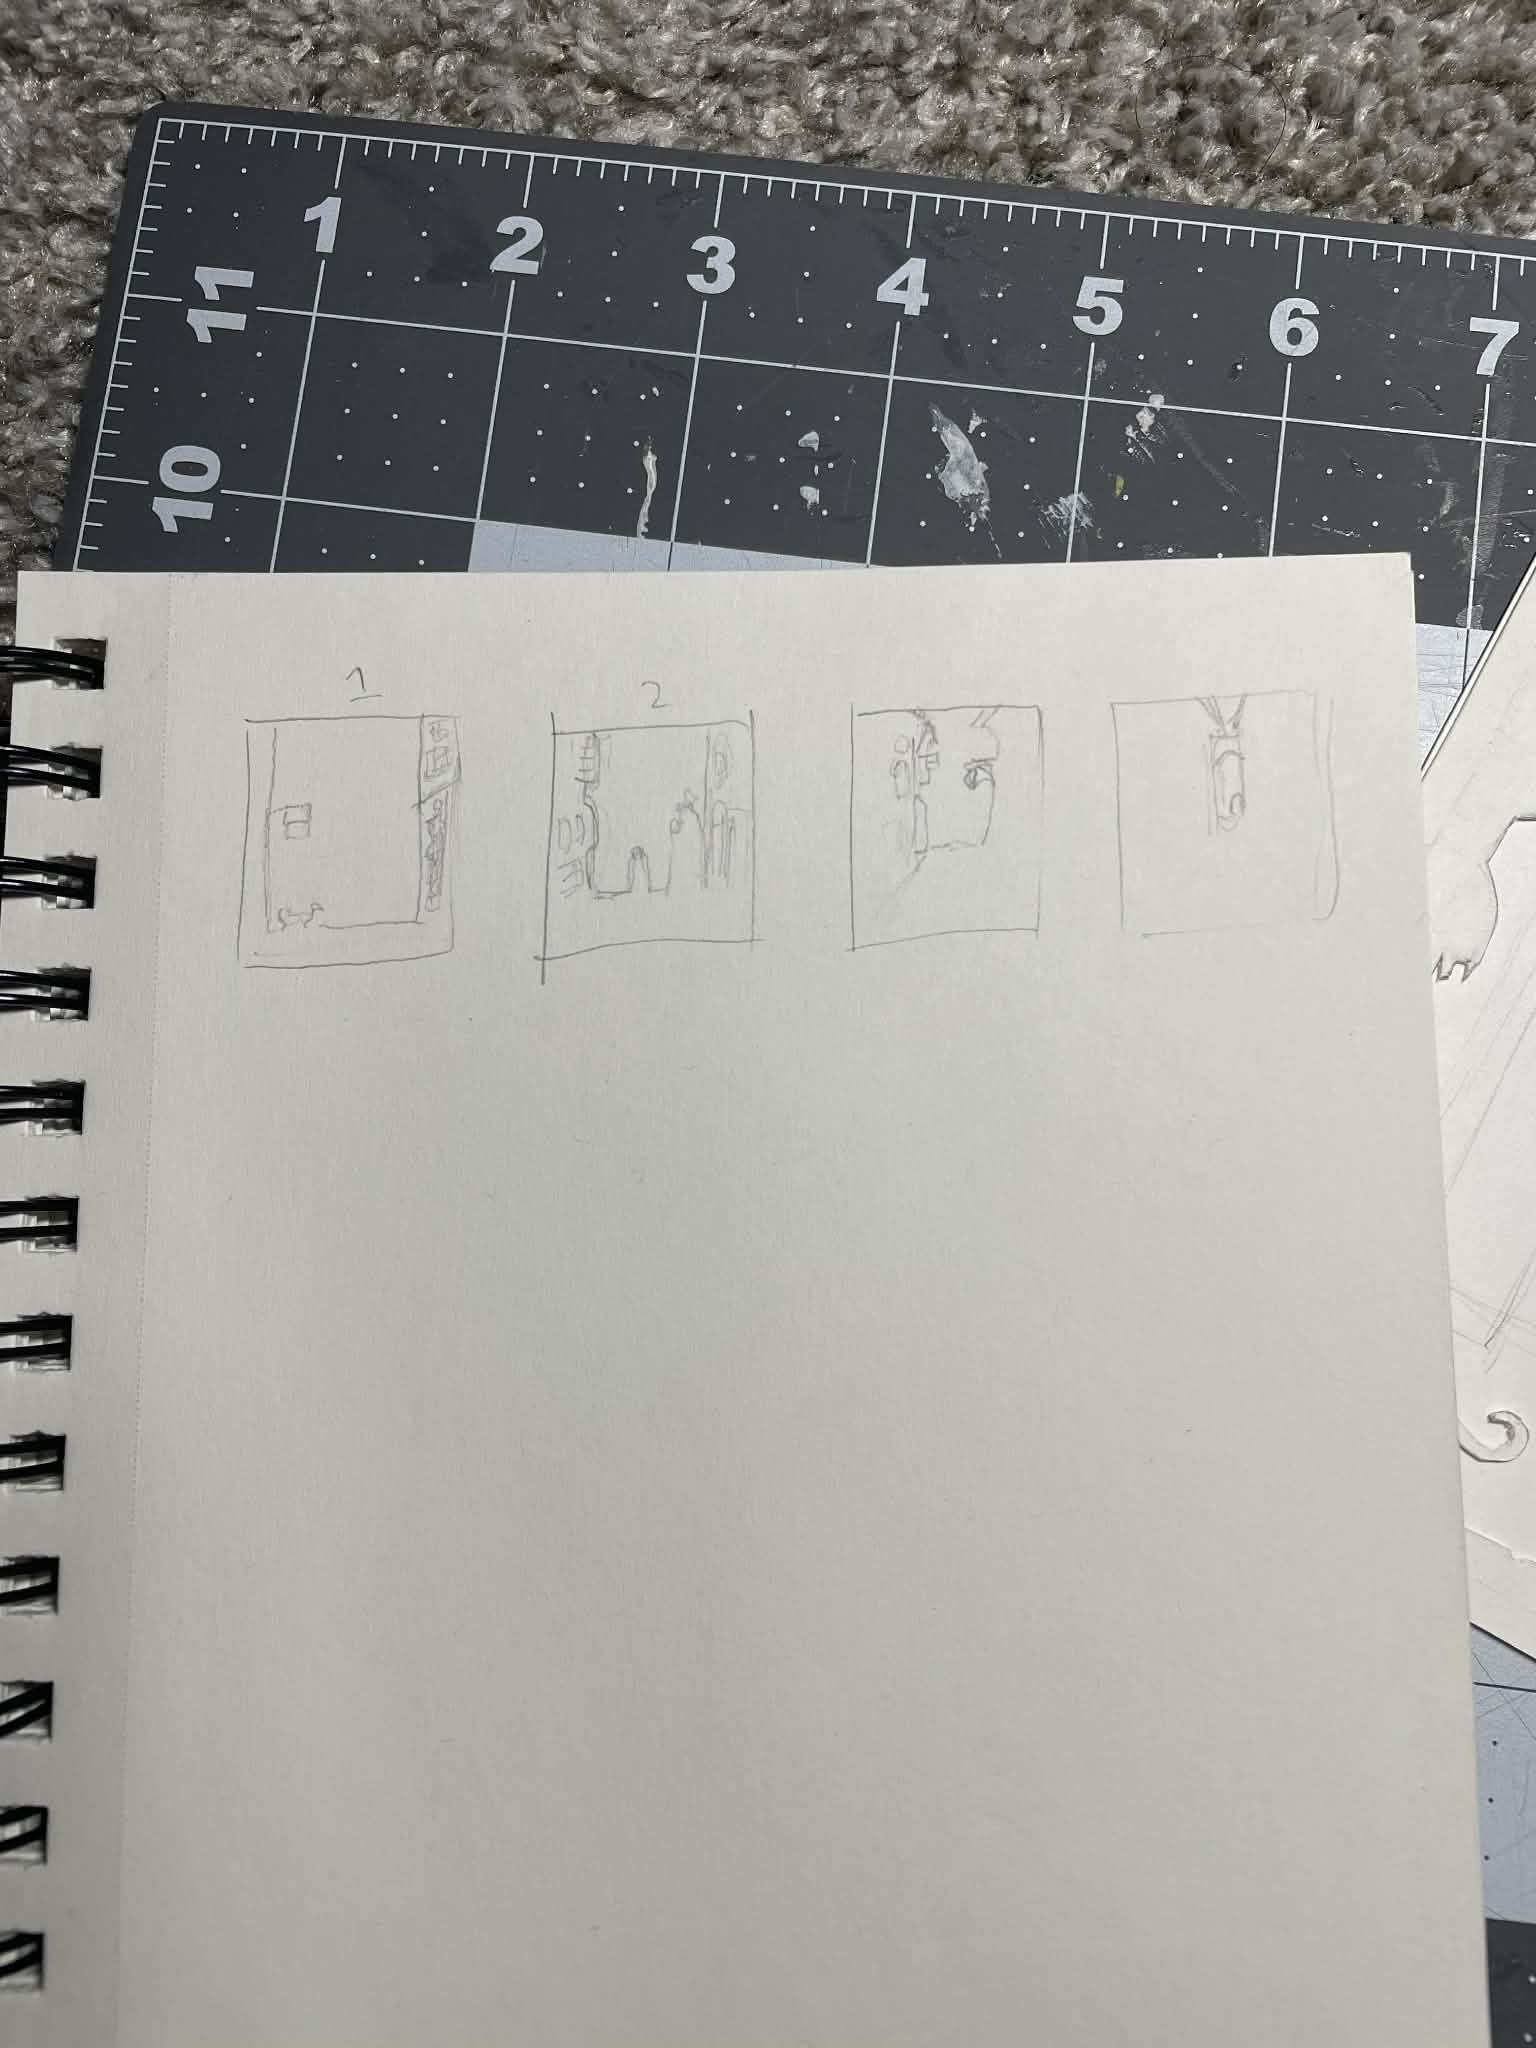
Start by sketching a general idea of what you want your paper light box to depict. Designs with real depth work best — landscapes are a great source of inspiration. Think foreground, middle ground, and background.
Your sketch doesn’t need to be perfect or sized exactly to the frame yet. What does matter is matching the shape of your frame (square vs. rectangle) and planning depth. Ideally, aim for at least three layers, though anywhere between 3–7 layers works best. While you could do more, thick paper plus spacing can make anything beyond that difficult to assemble.
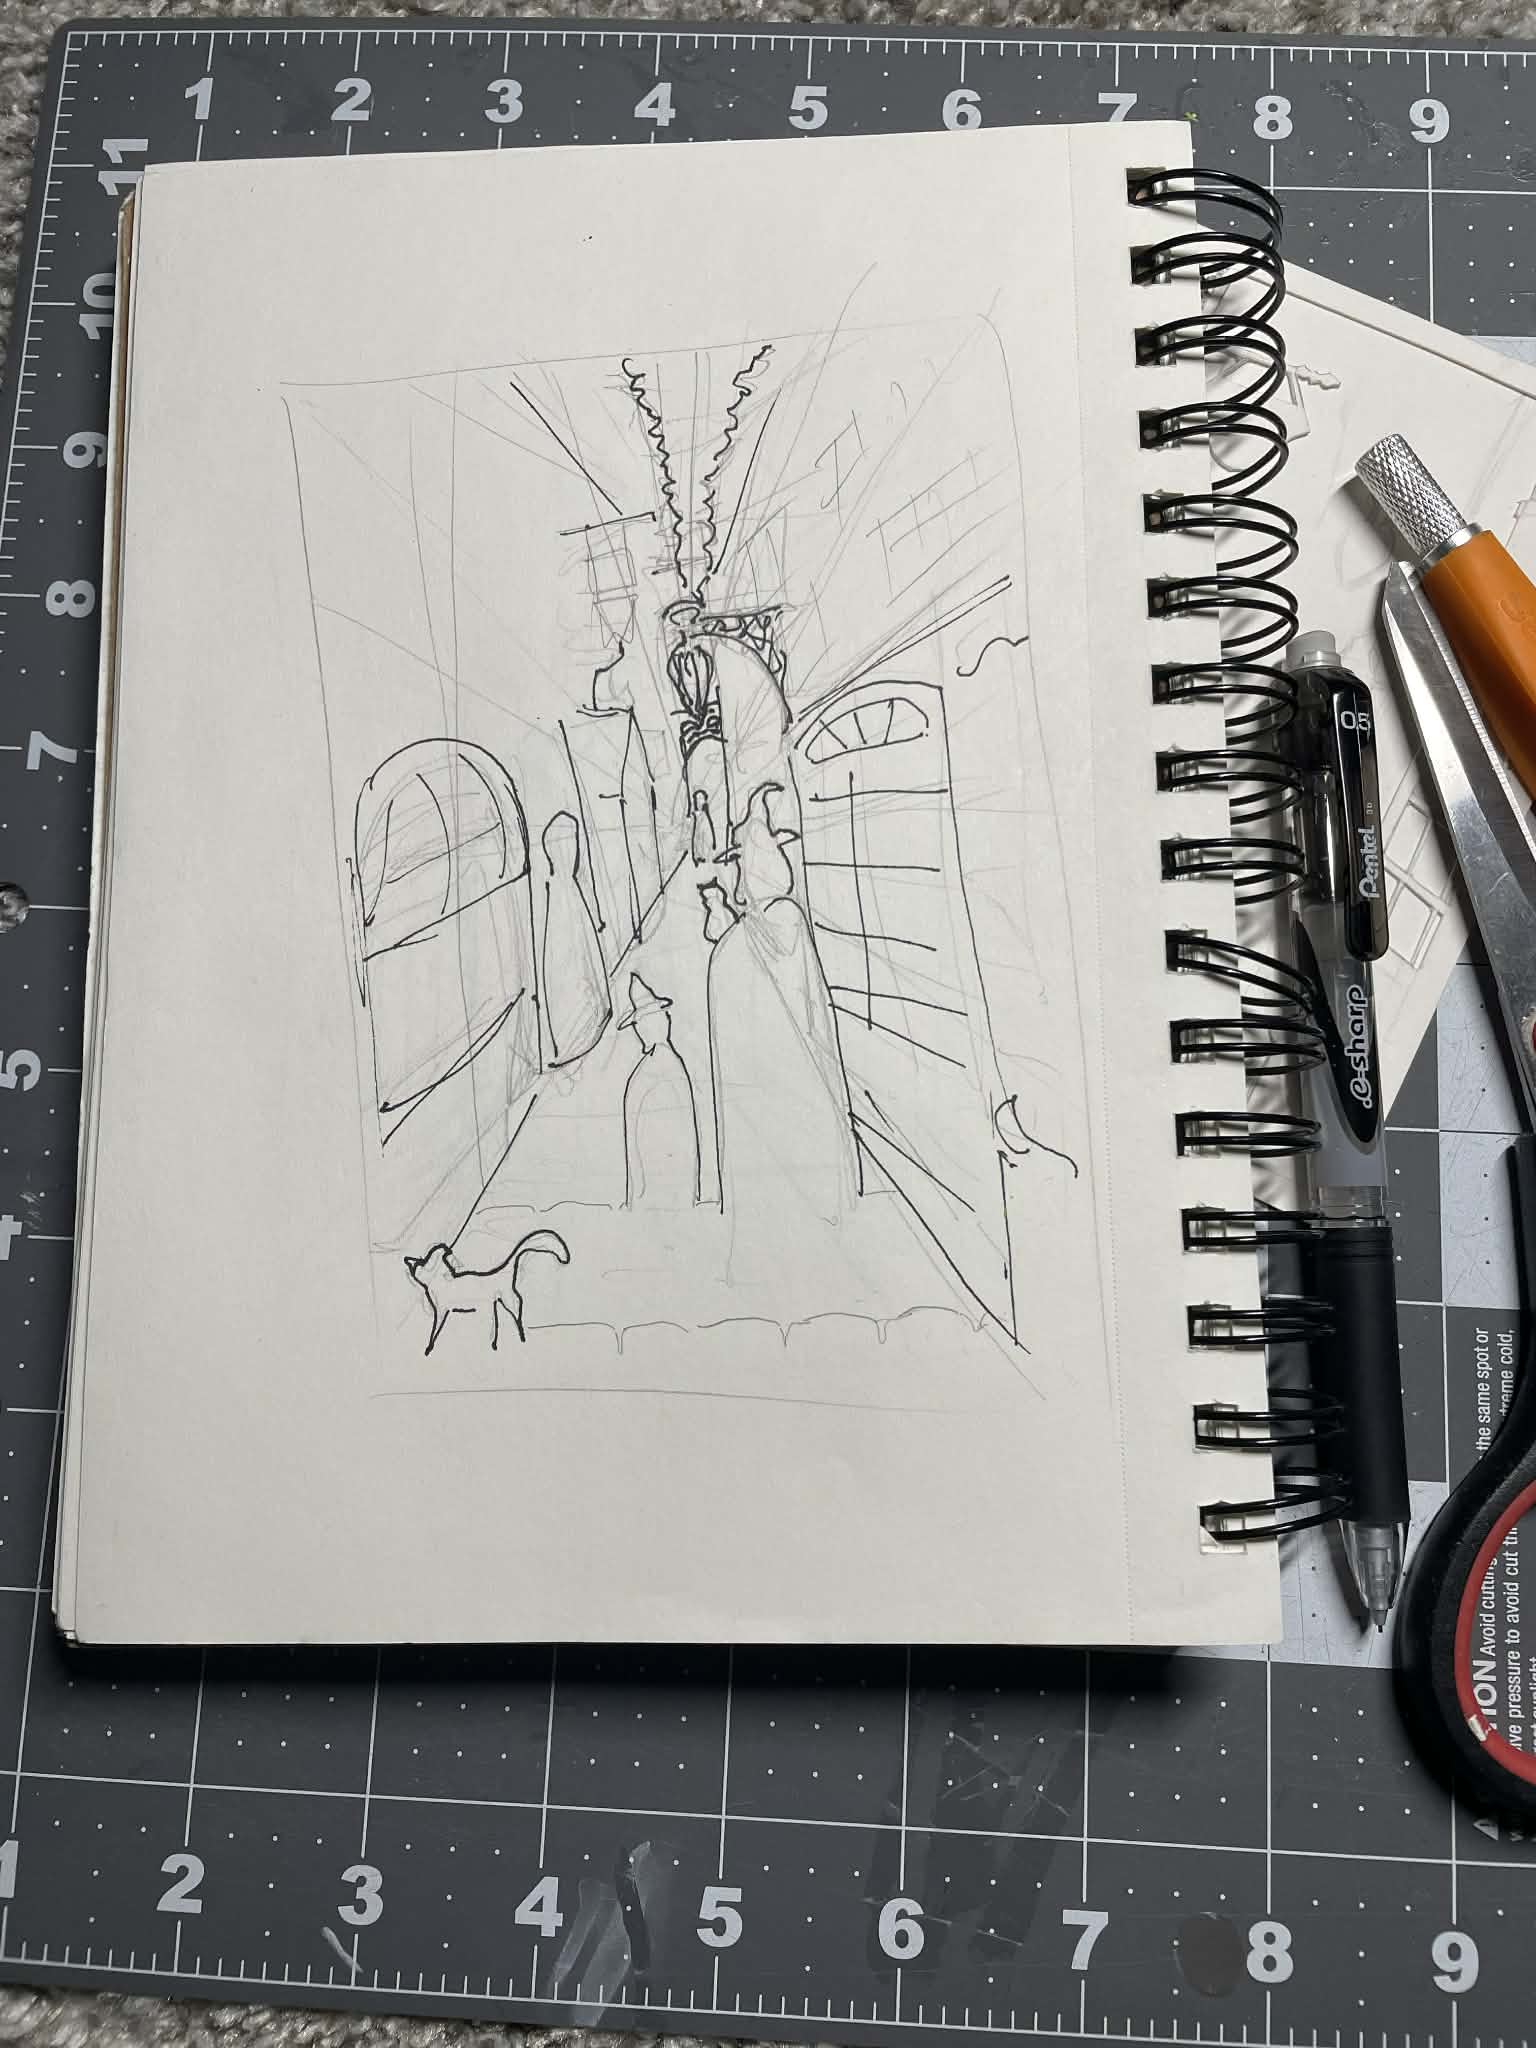
On your sketch paper:
-
Roughly draw the overall scene
-
Mentally (or lightly) separate what belongs on each layer
-
Sketch each layer individually — no details yet
This step is all about planning.
Tools You’ll Need
-
Thick paper (cardstock or similar)
-
A deep photo frame (Dollar Tree frames can work!)
-
Scalpel or X-Acto knife
-
Cutting mat
-
Pencil & eraser
-
Ruler
-
Scissors
-
Glue
-
Optional: tea lights or a small string of lights
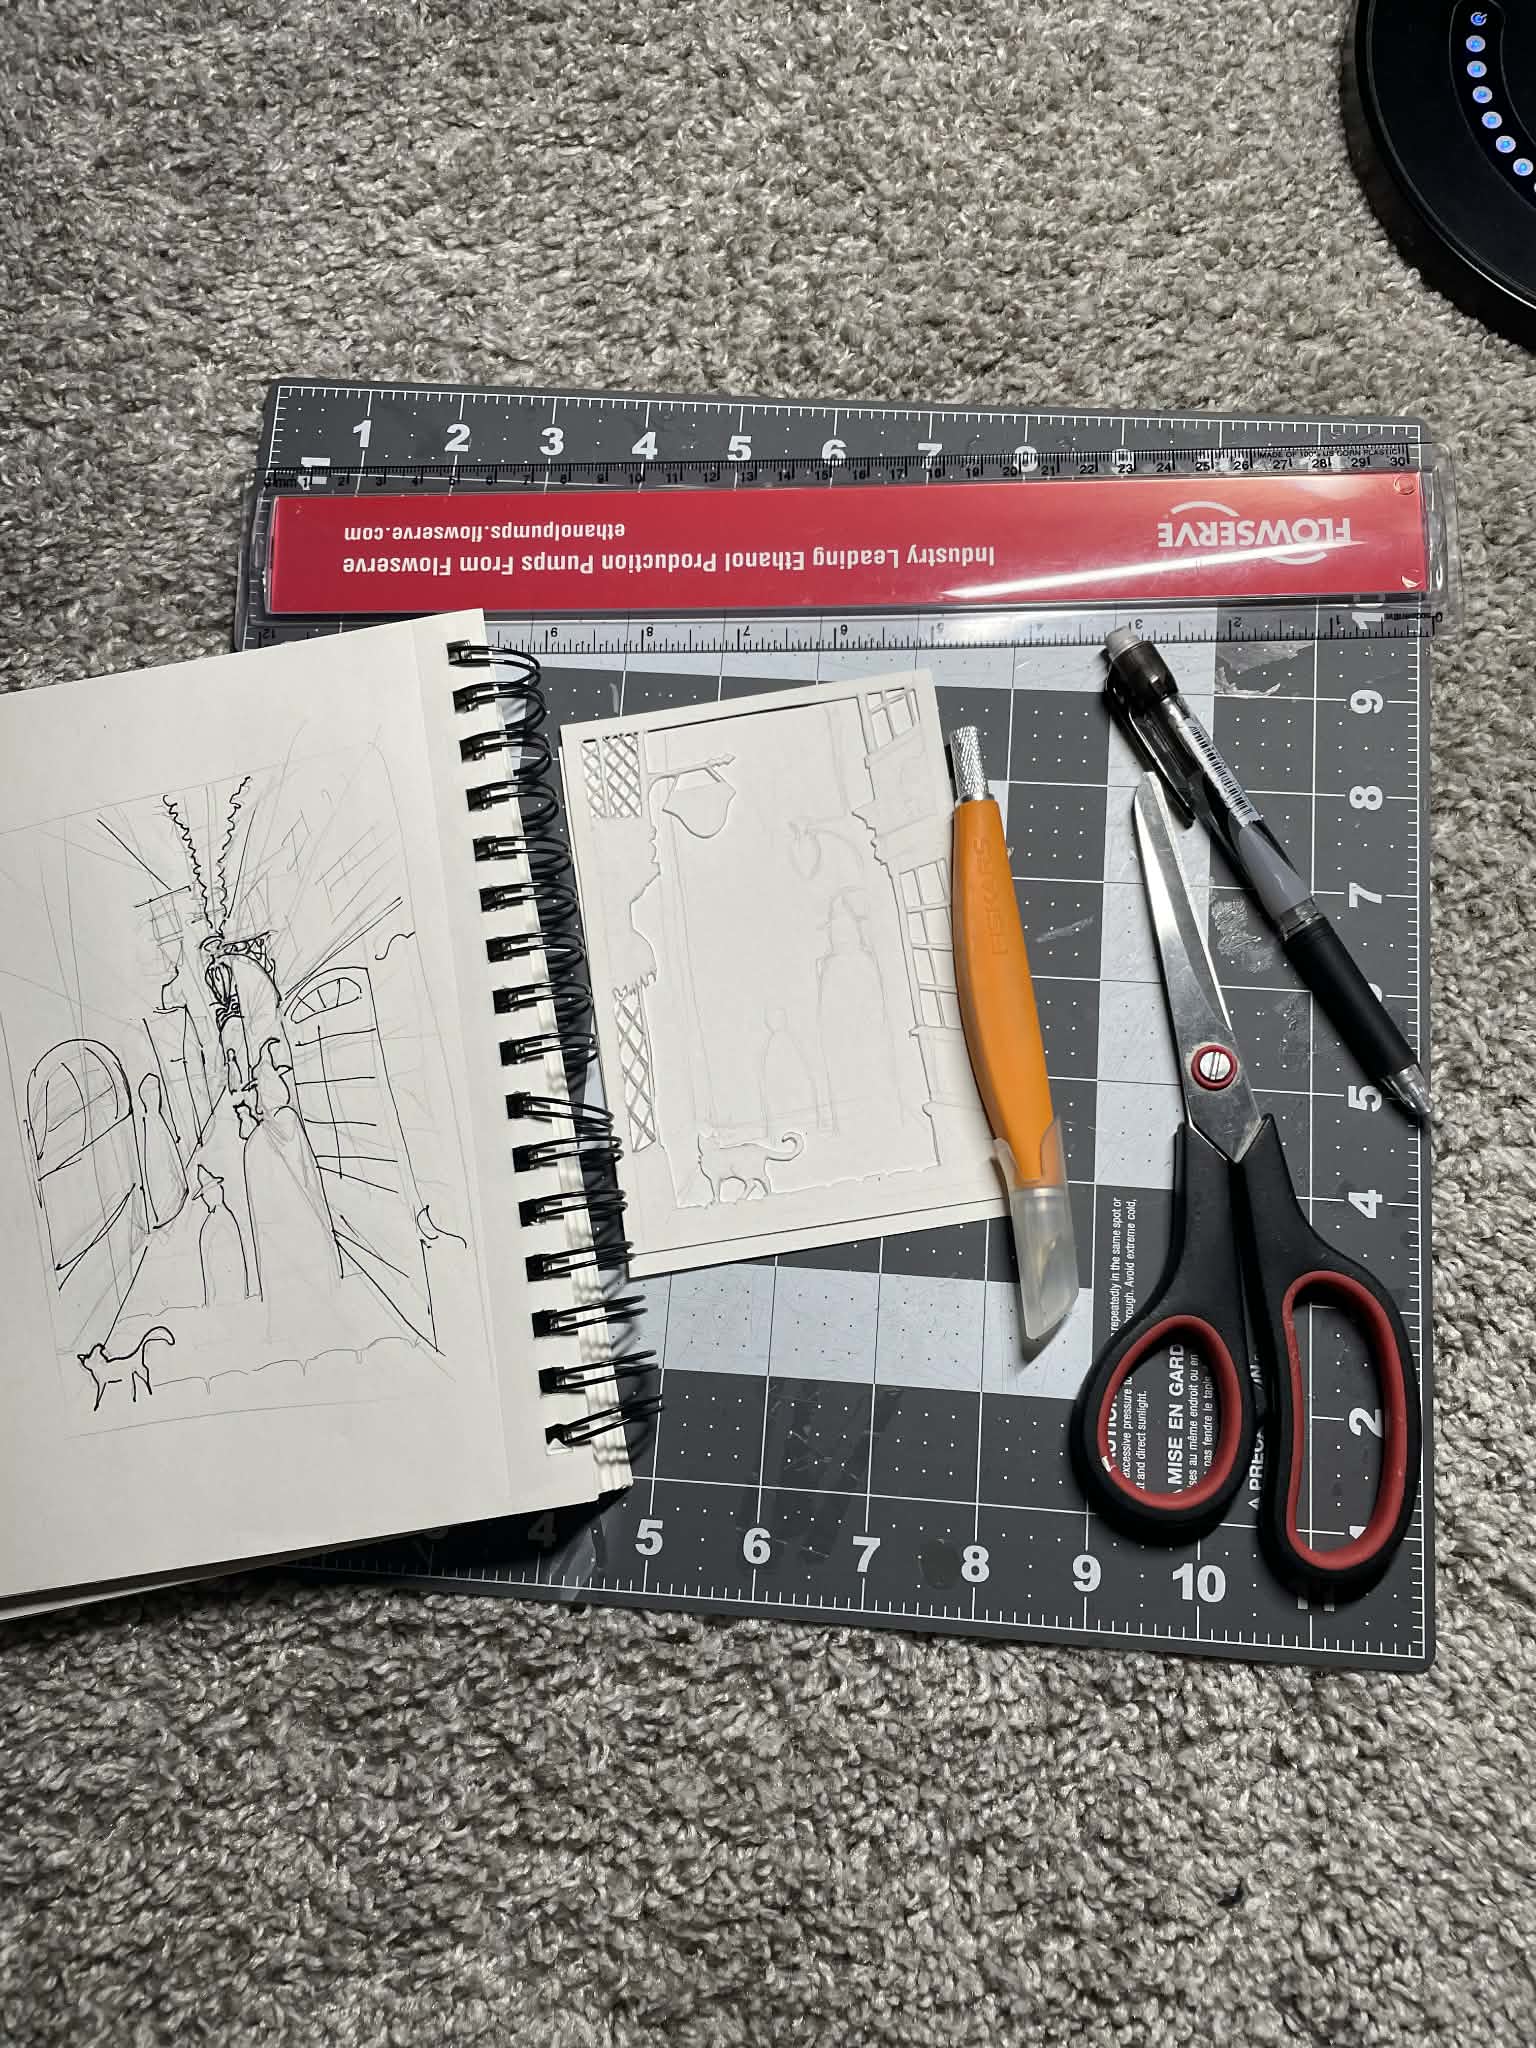
Step 2: Measure and Cut Your Paper Layers
Measure the inside width and height of your photo frame. Use these measurements to cut out all of your paper layers.
Try to be as precise as possible so the paper doesn’t warp or bend inside the frame. Small gaps are okay — perfection isn’t required — but the layers should sit comfortably without force.
Step 3: Design and Cut the First Layer
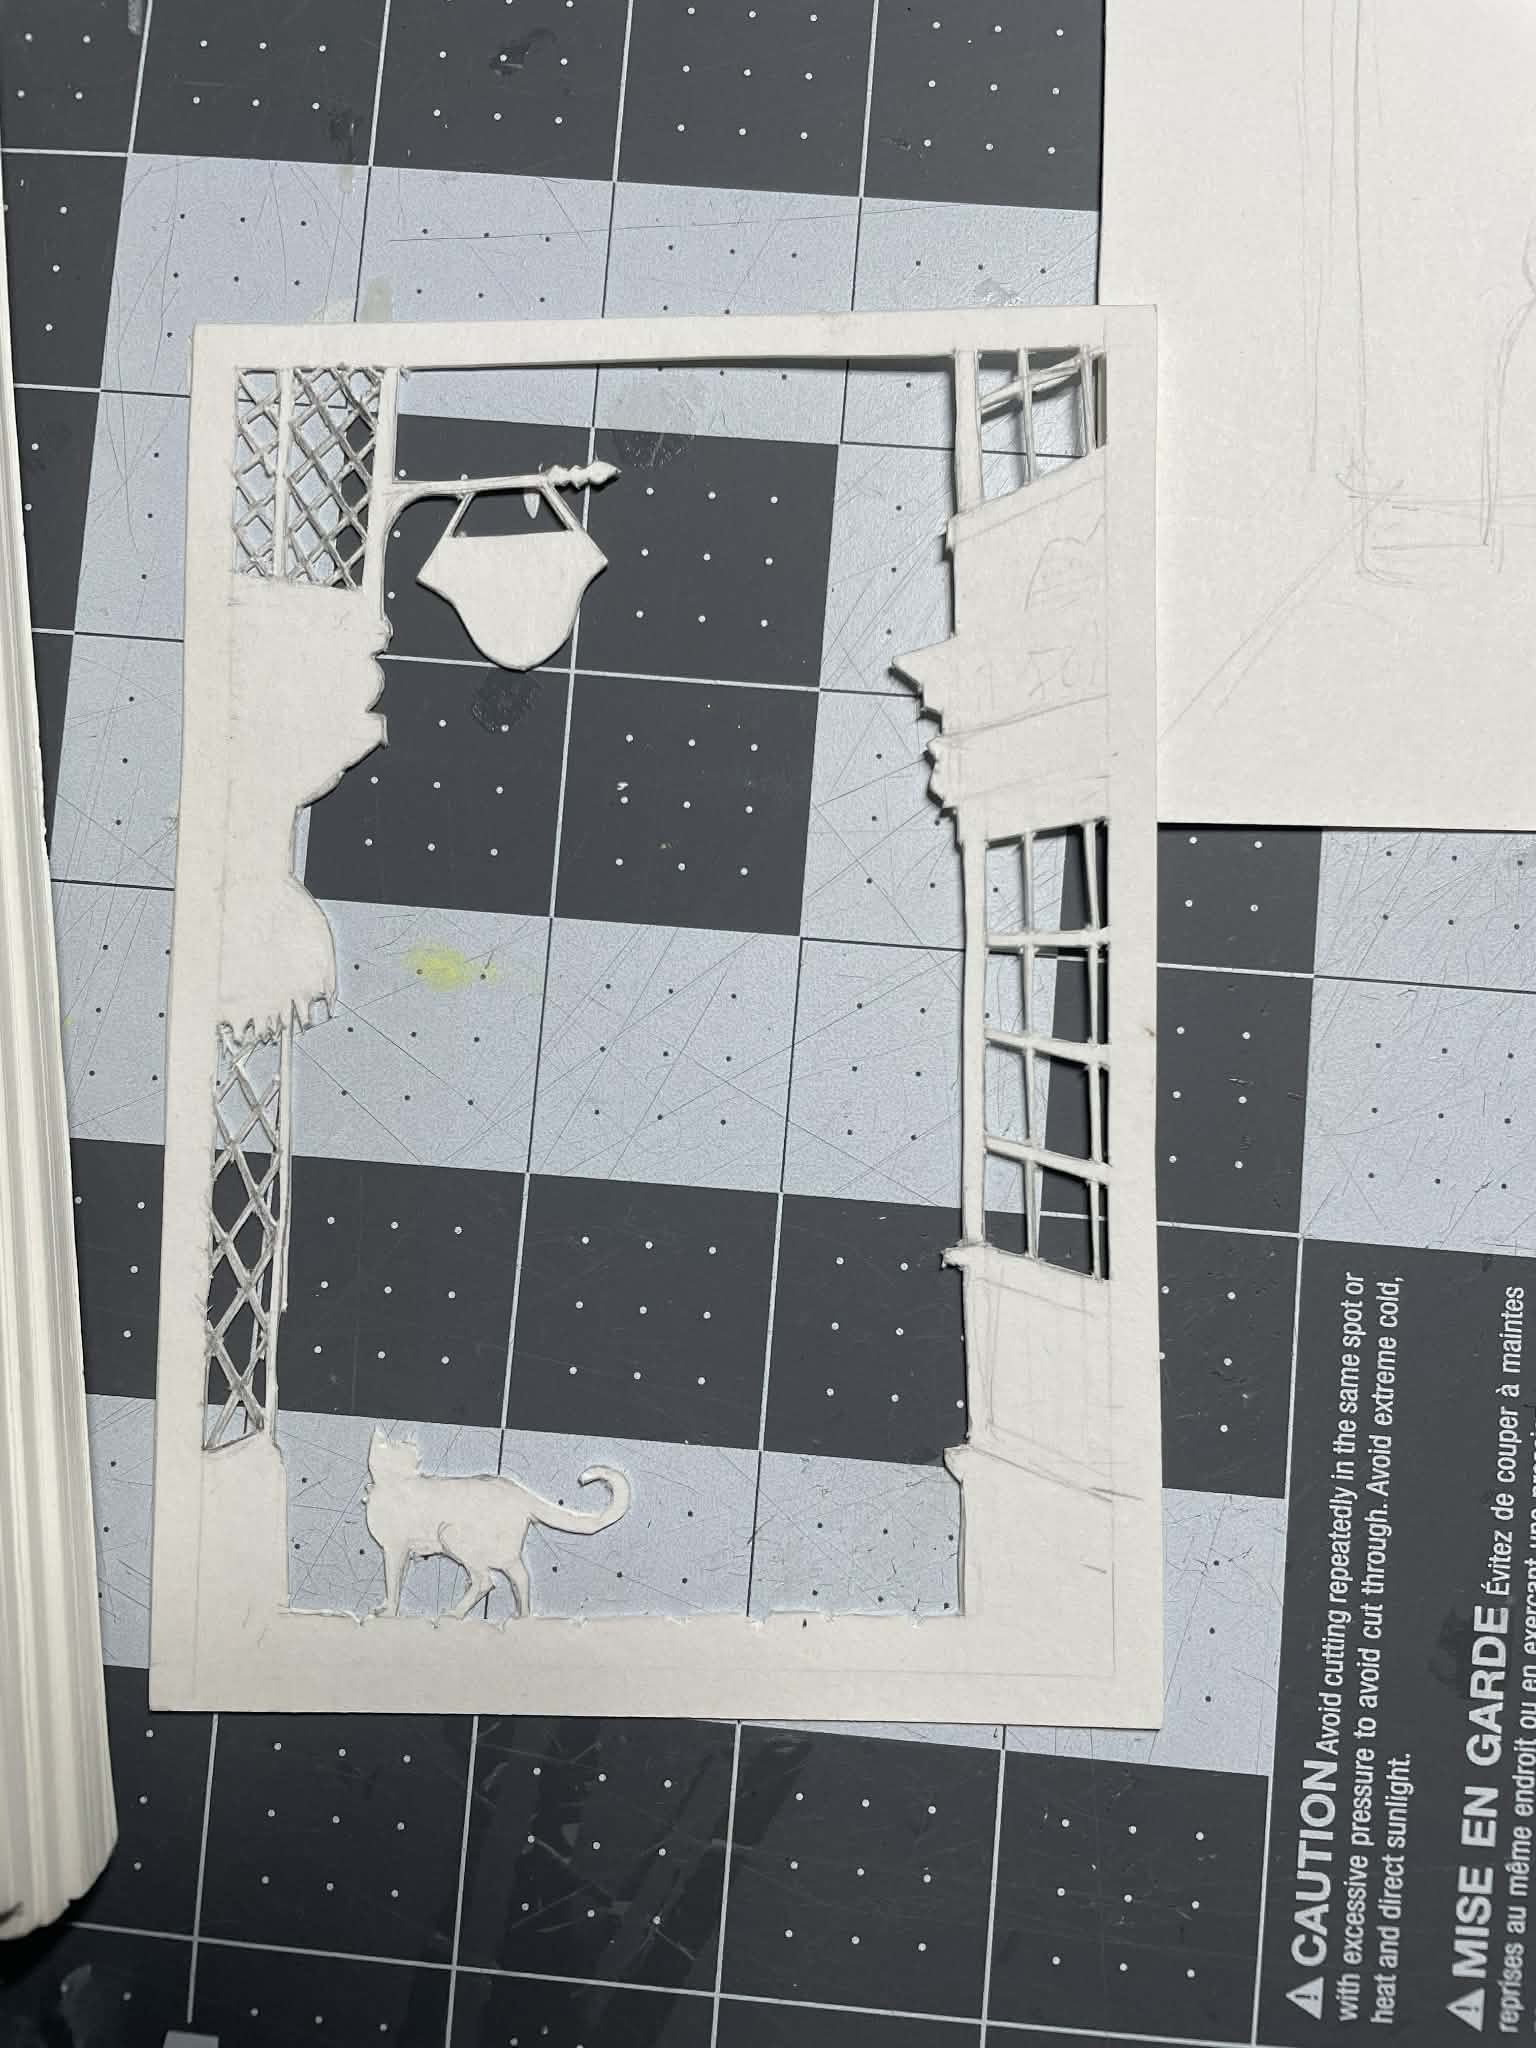
Begin with the front (closest) layer. Transfer your planned design onto the paper and refine it with more detail.
Because everything will ultimately be a silhouette, I recommend looking up:
-
Silhouette graphics
-
Clip art outlines
-
Pinterest references (animals, figures, objects, etc.)
These references help with anatomy and positioning, even though the final result will be simplified.
Once drawn, carefully cut out the design.
Step 4: Continue Layer by Layer
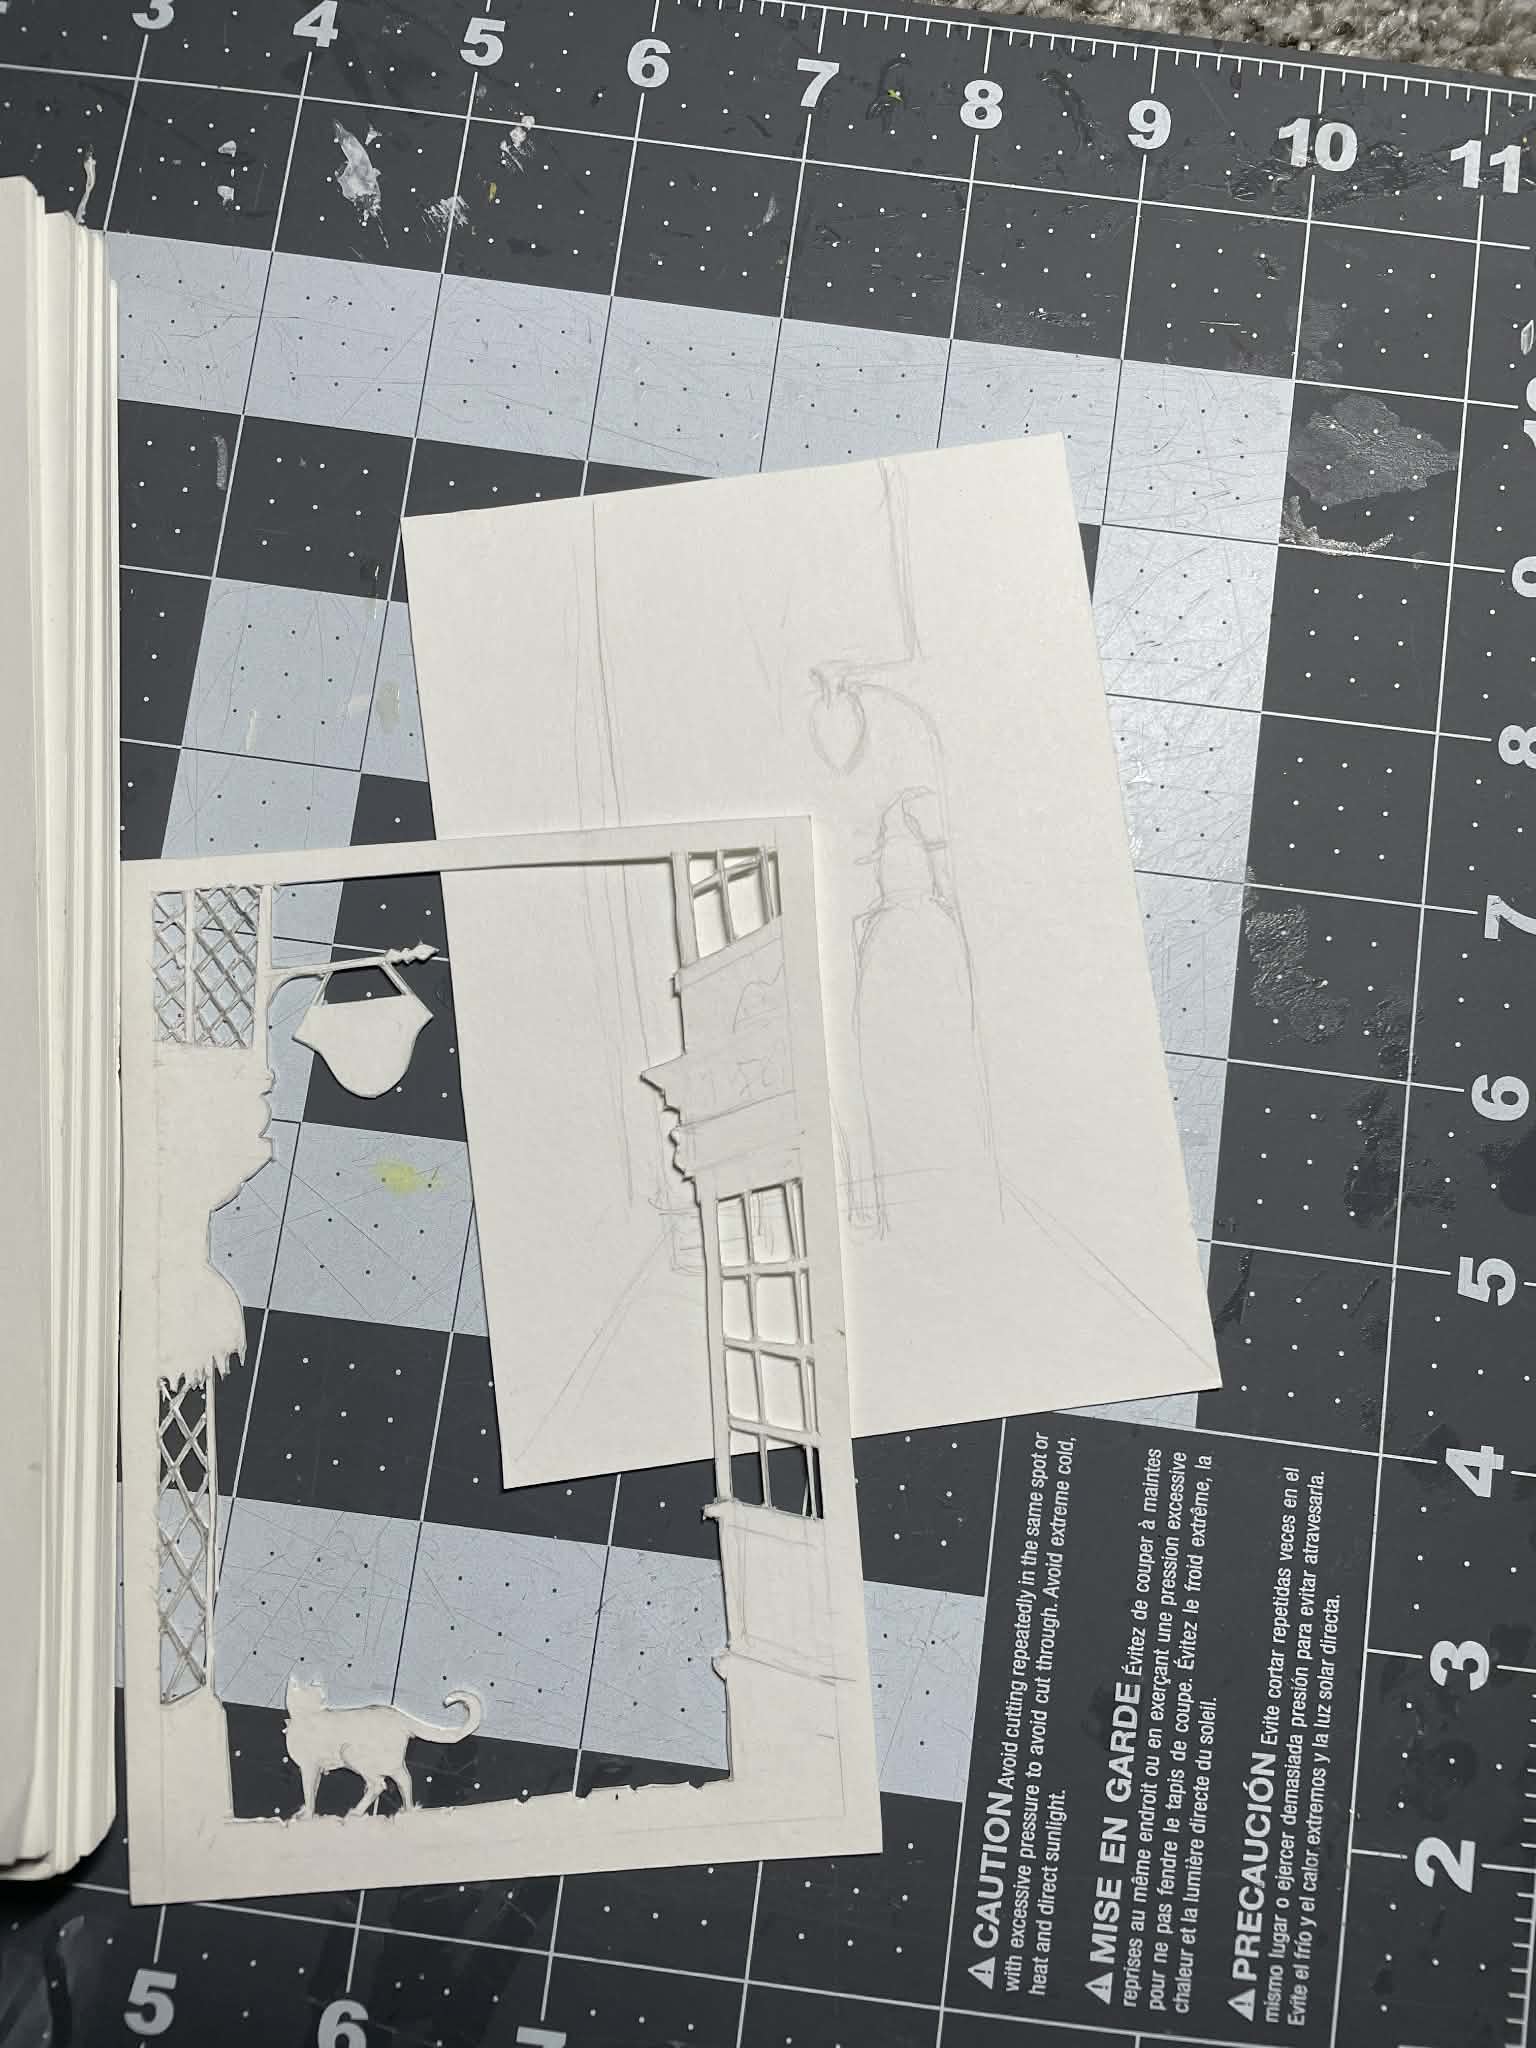
After finishing the first layer, place it over the second layer’s paper so you can see how the designs interact. Only move on to sketching the next layer after the previous one has been fully cut.
Repeat this process for every layer, always following your original plan.
This stage takes time. Depending on detail level, it can take hours or even days. One of my designs took about 40 hours total, spread out over breaks — so go at your own pace.
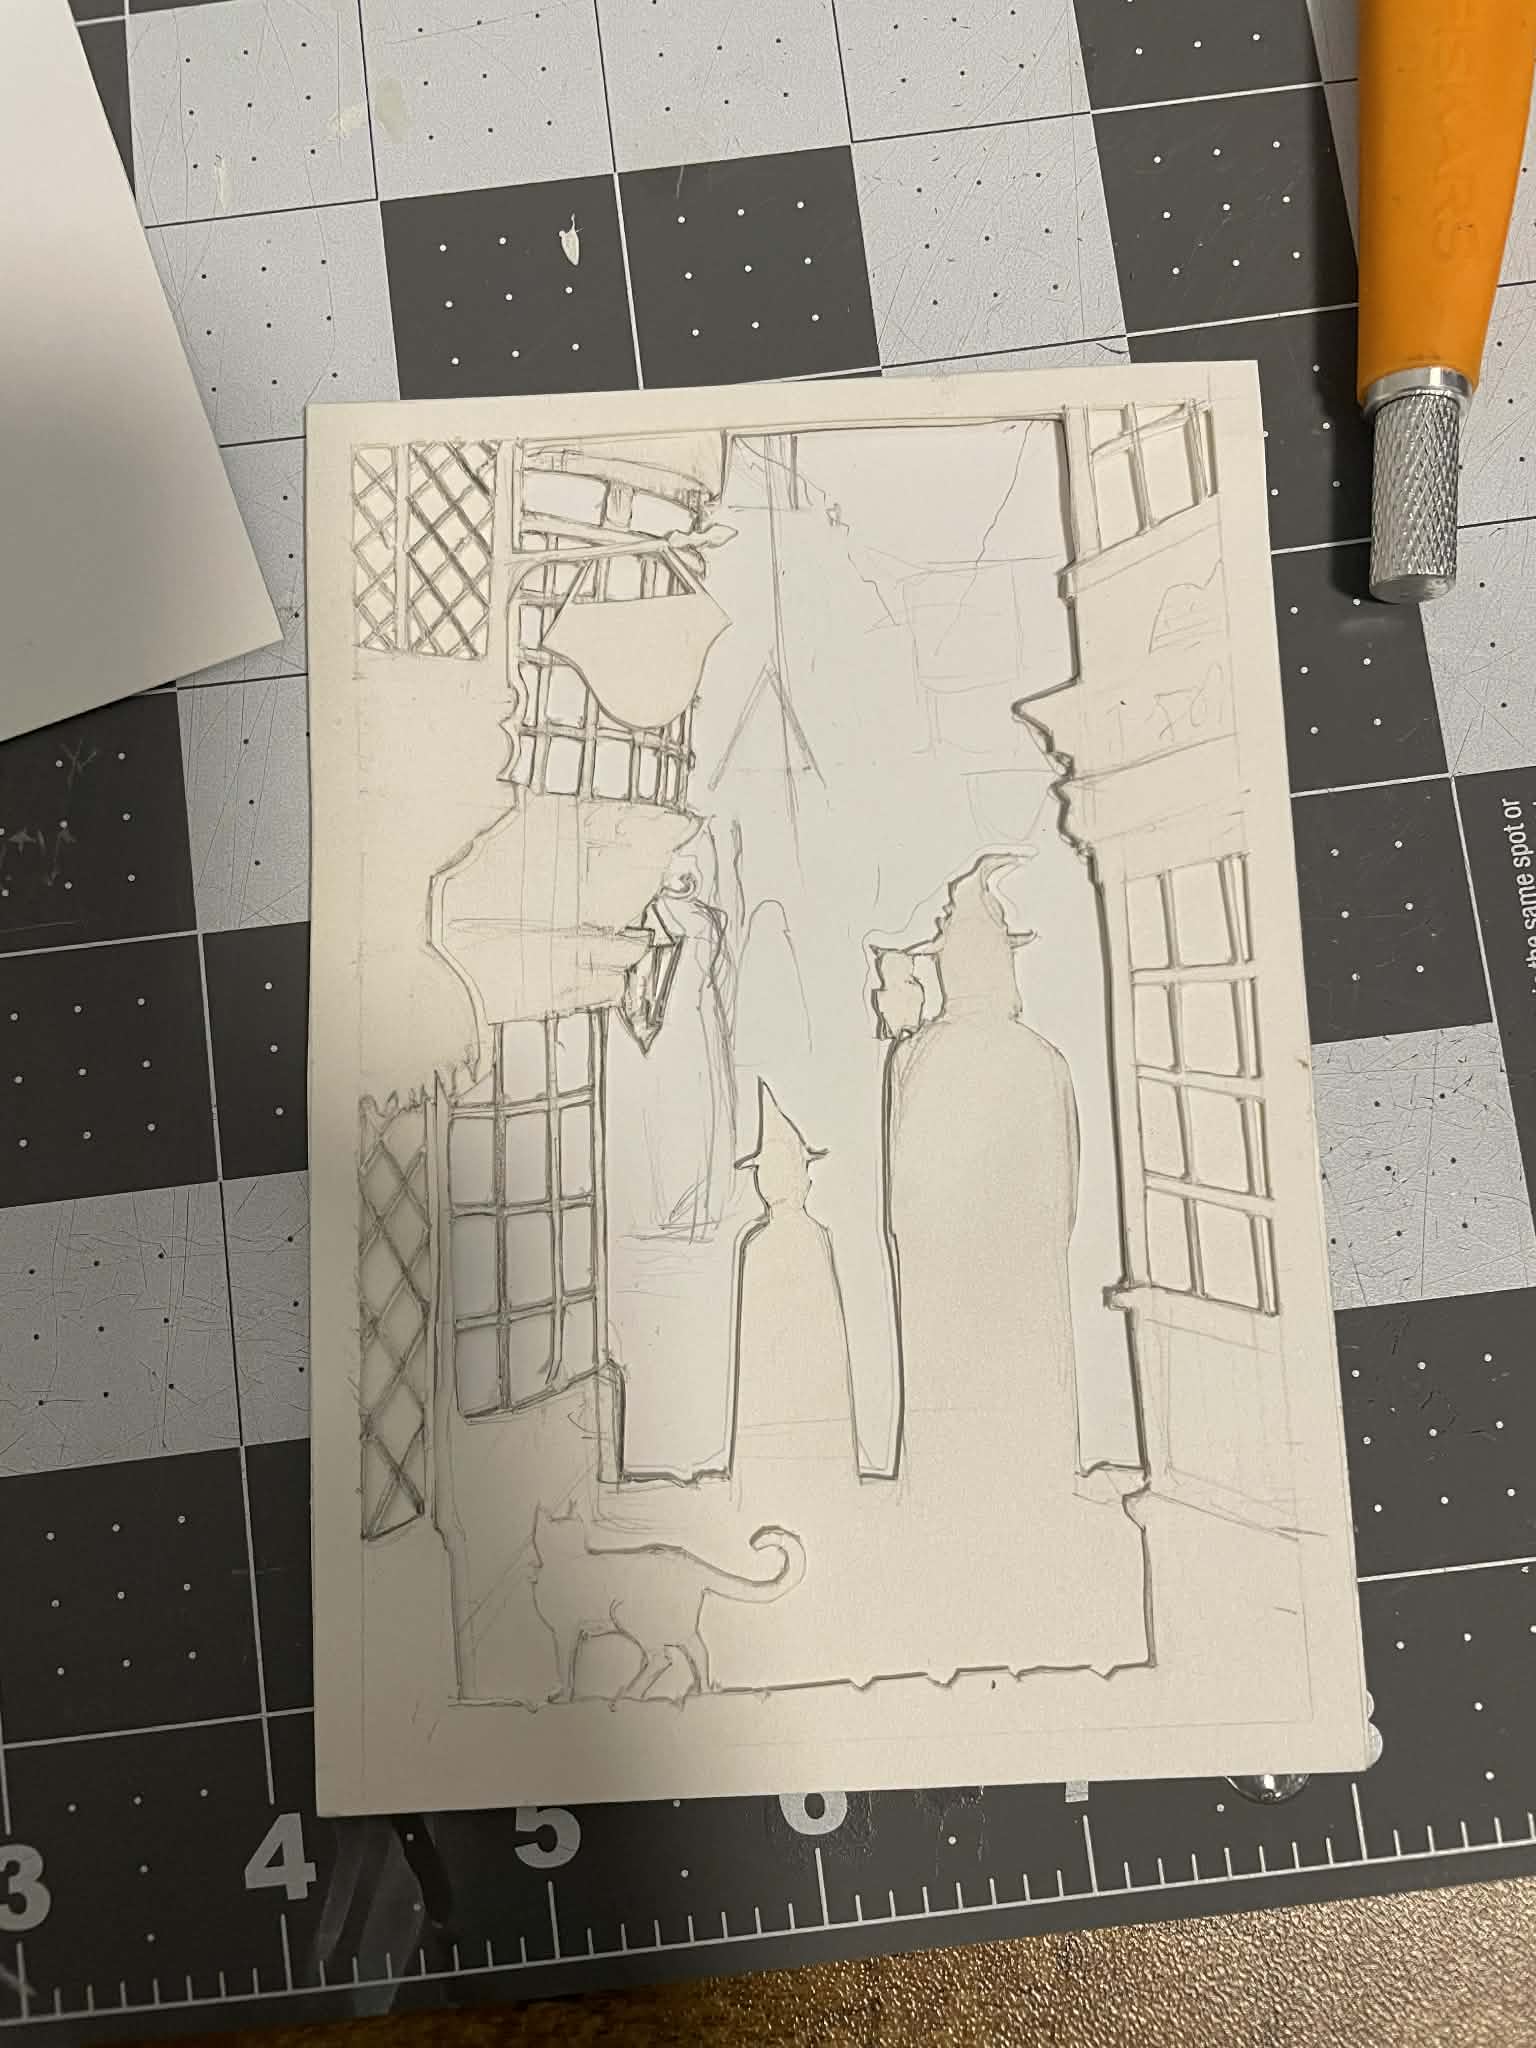
Step 5: Add Spacing Between Layers
Once all layers are cut, it’s time to glue them together — but spacing is crucial.
To create depth:
-
Make thin paper borders around the edges
-
Stack narrow strips of thick paper or foam
-
Aim for 1–3 millimeters of space between each layer
Glue carefully, ensuring everything stays aligned.
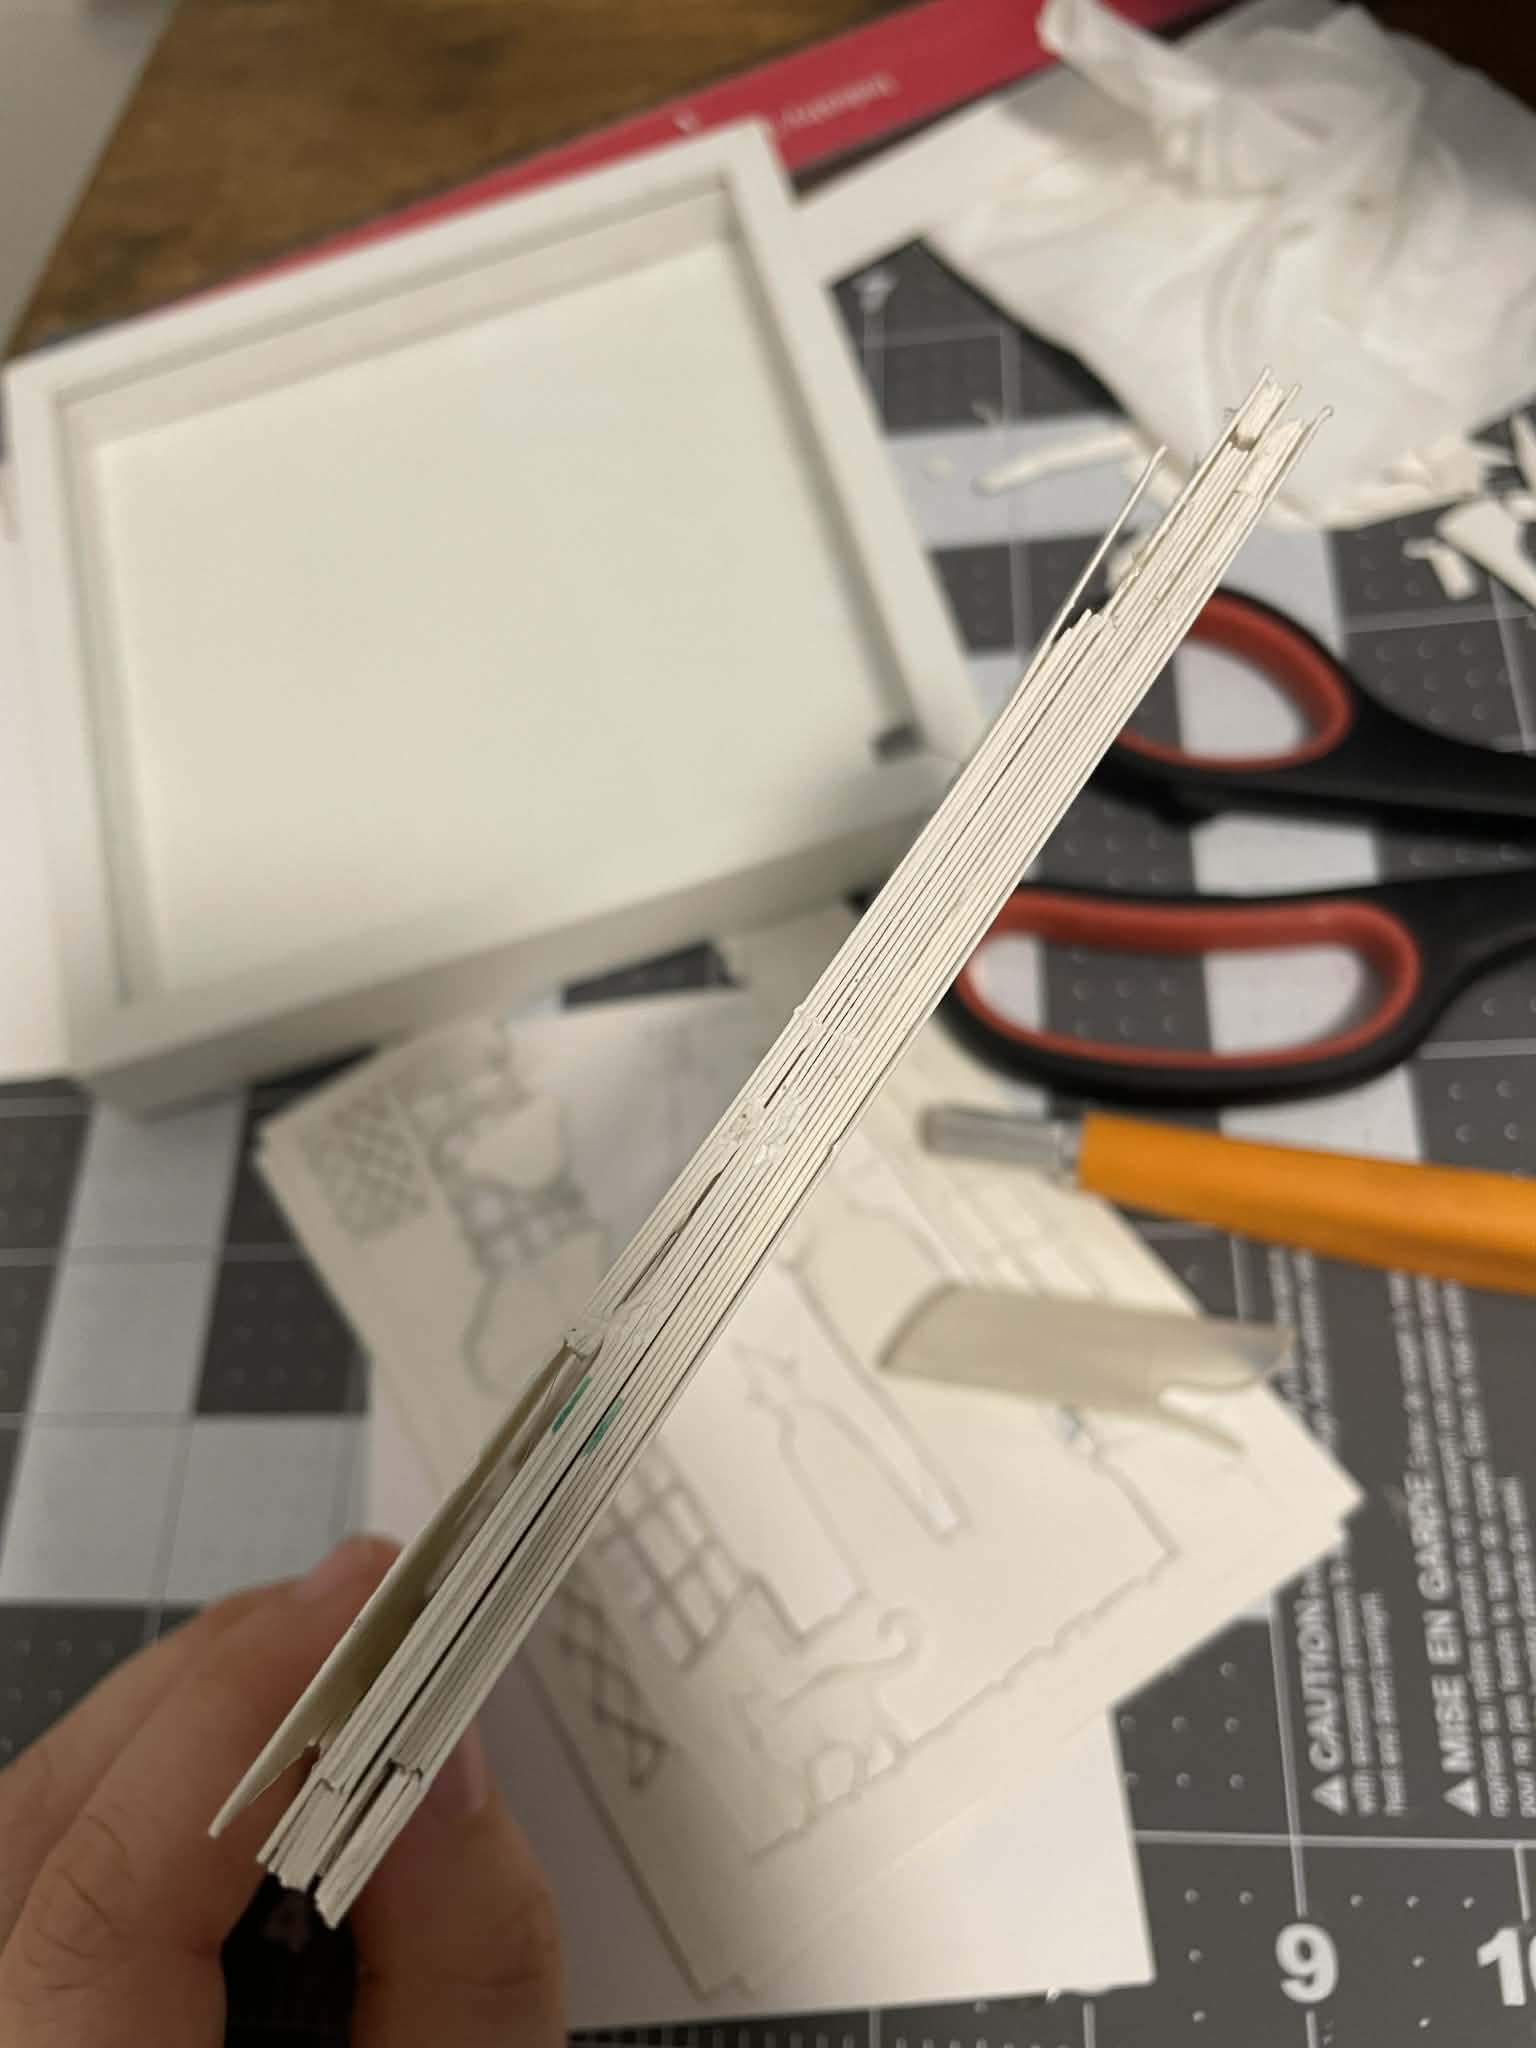
Add one solid, uncut paper layer at the back to act as the background.
Step 6: Assemble Inside the Frame
You can assemble everything in two ways:
-
Outside the frame, then insert the finished stack
-
Inside the frame, layering one piece at a time (this helps with alignment)
If something doesn’t fit perfectly, you can carefully trim excess paper with your knife.
Once assembled, place the glass back into the frame.
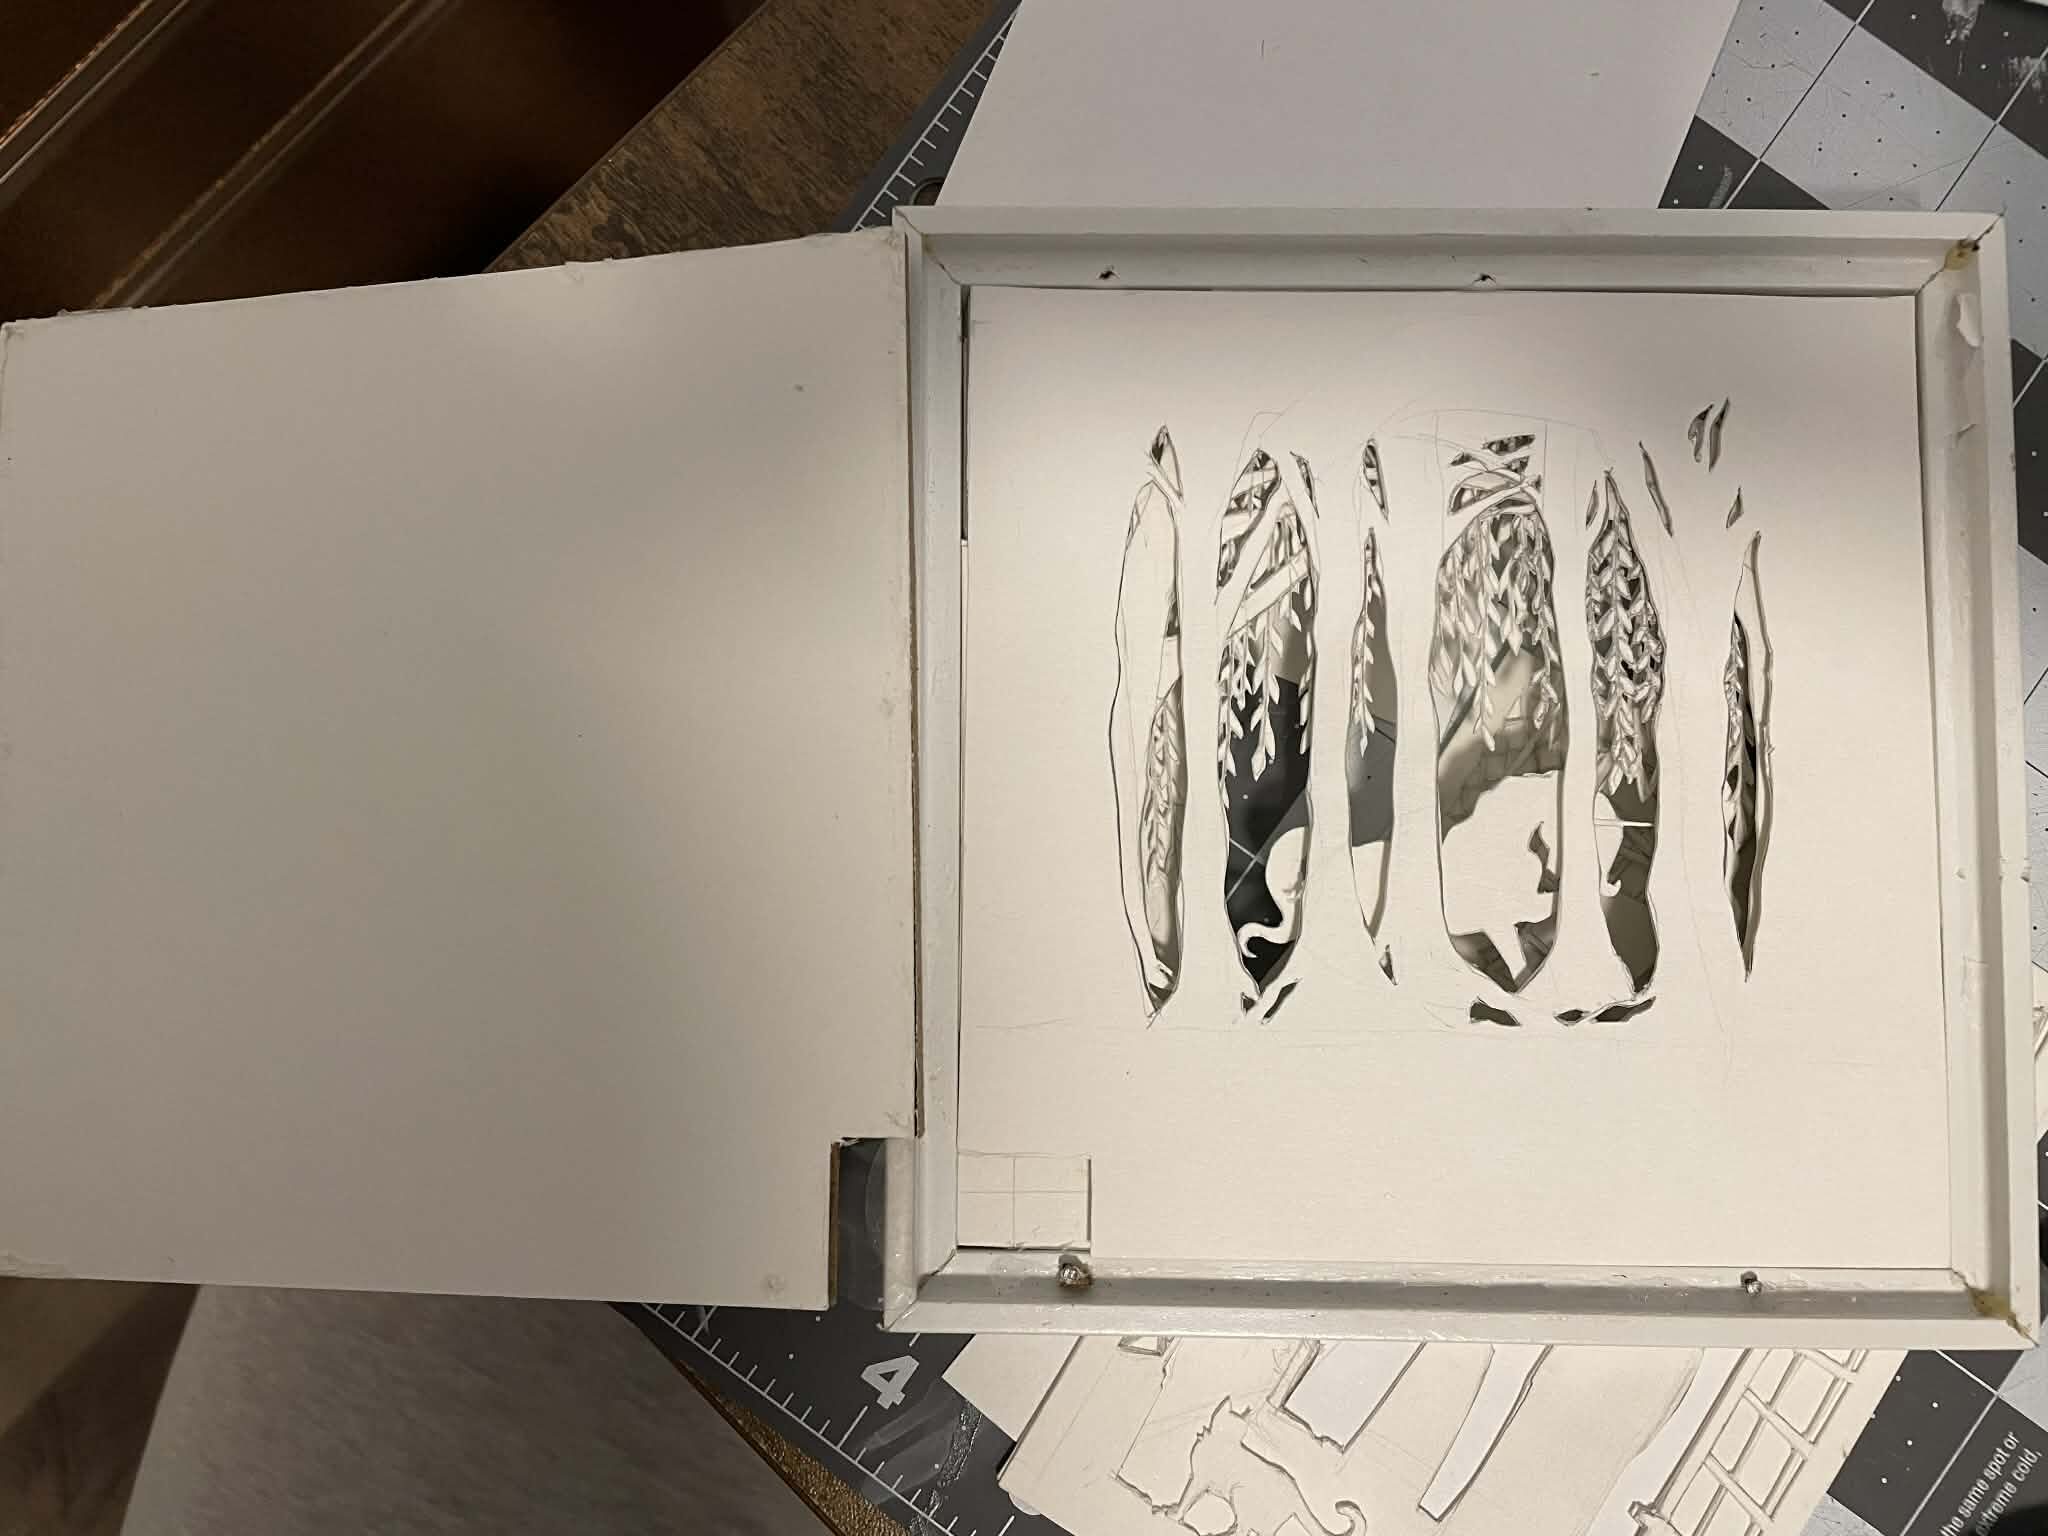
Step 7: Add Lighting
Add tea lights or a small string of lights around the edges or wherever they fit best. Tape them down instead of gluing so you can replace batteries later.
Make sure:
-
The battery pack is accessible
-
A small hole exists in the back of the frame if needed
Finished!
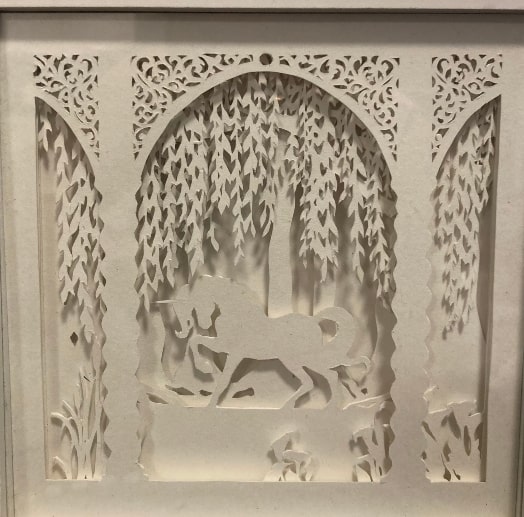
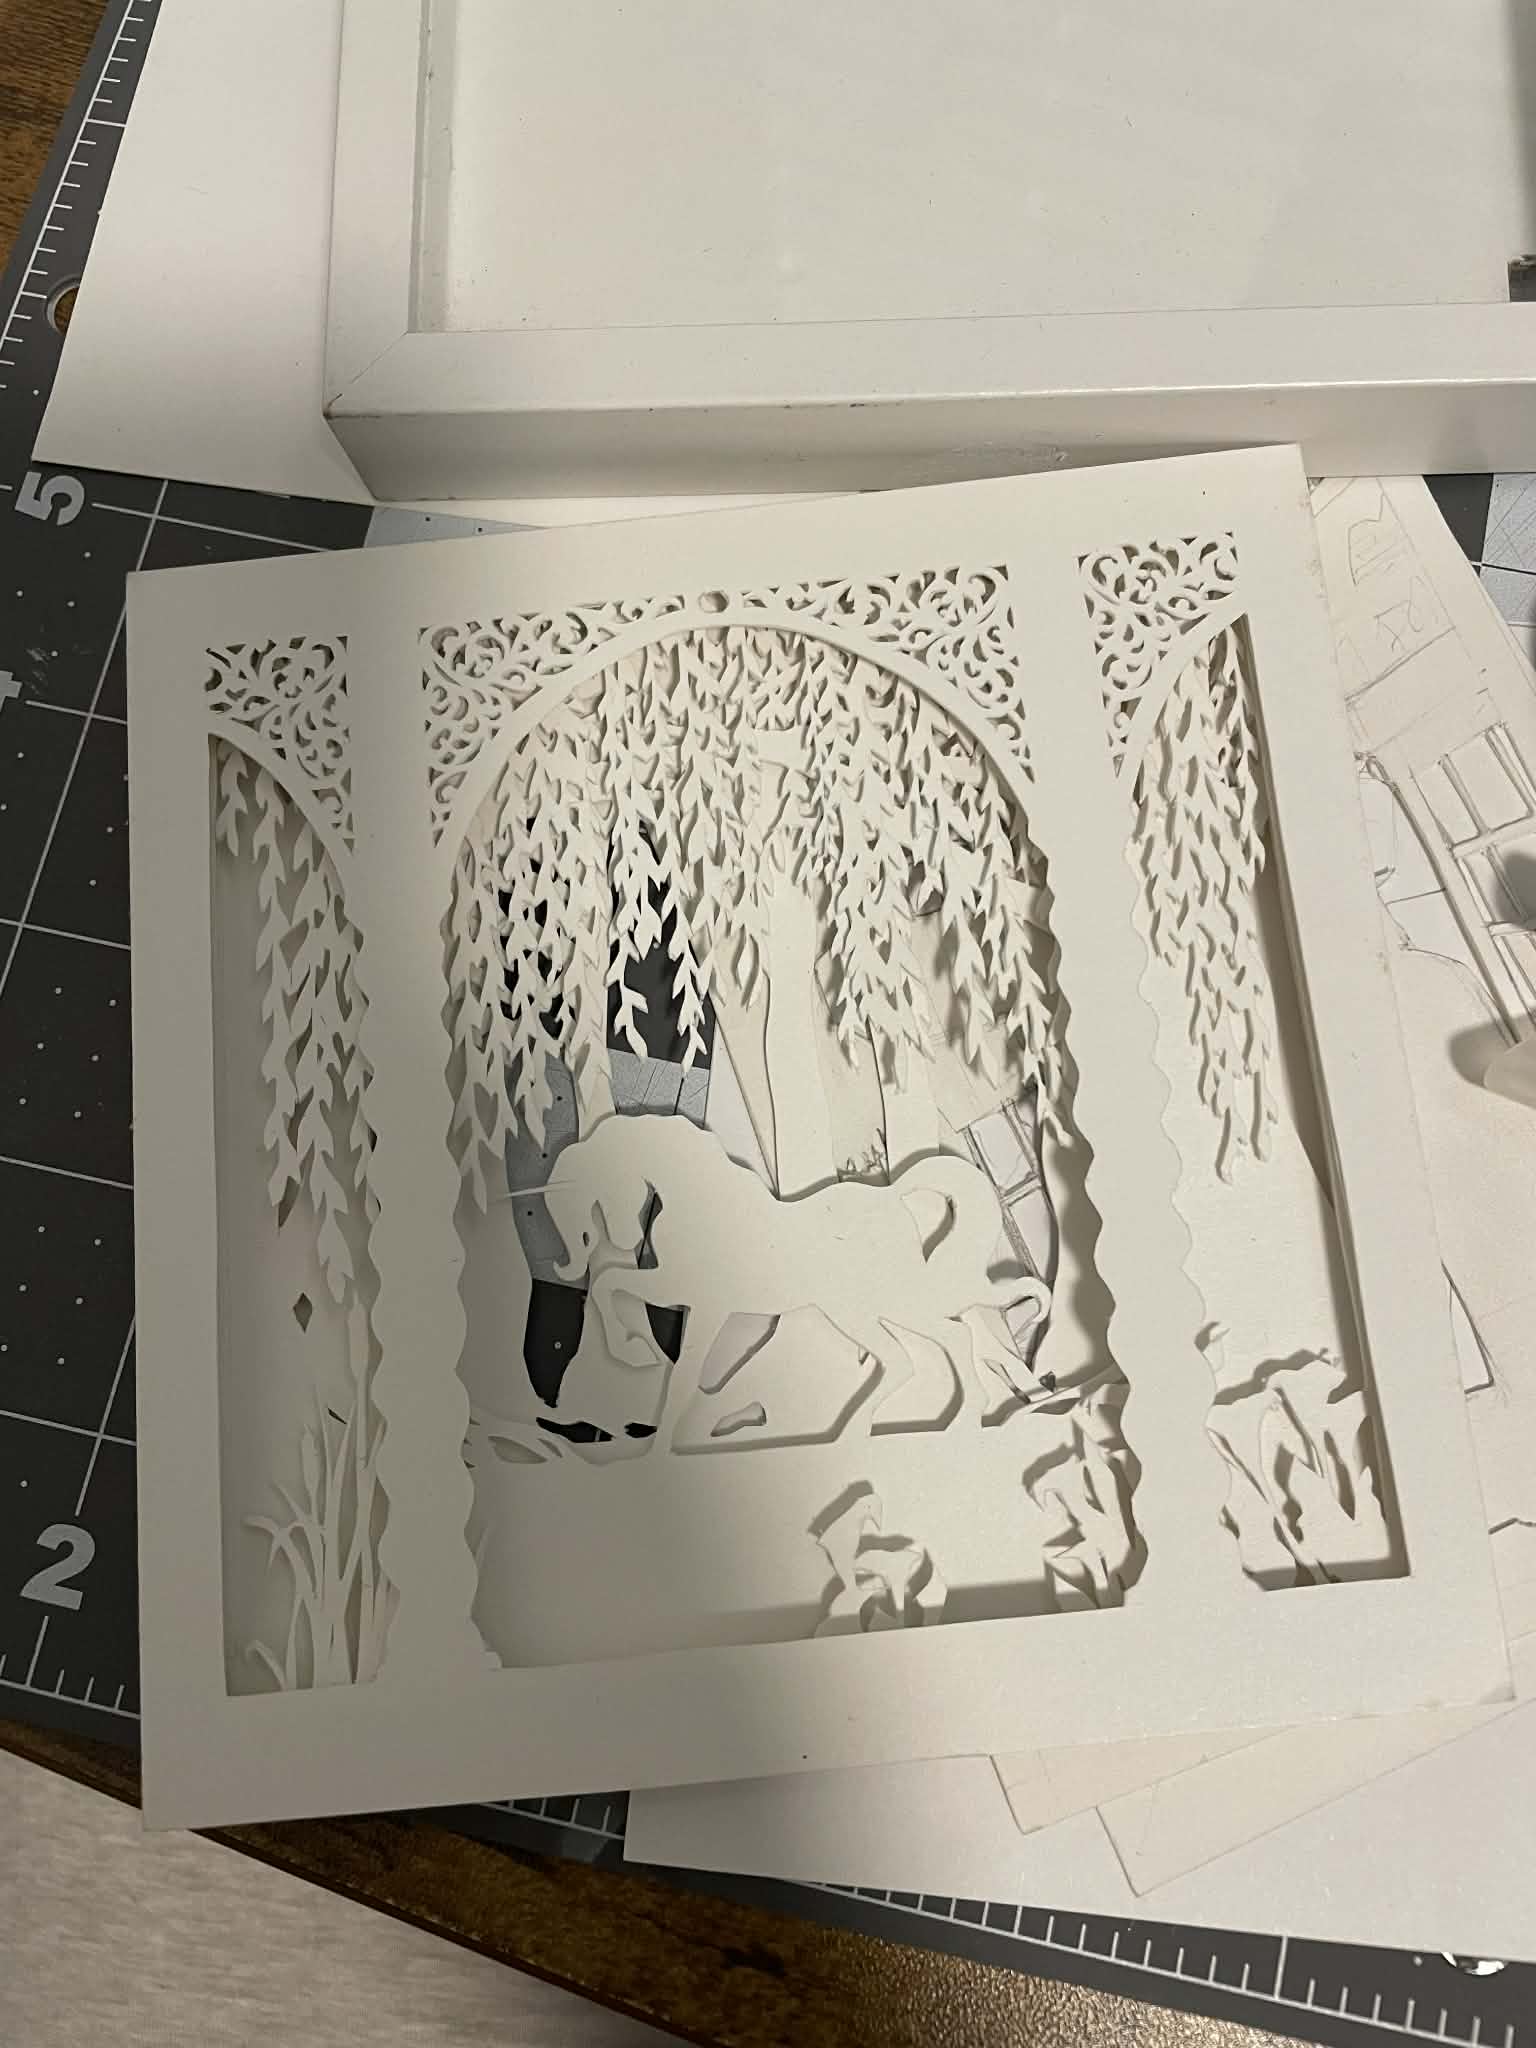
And there you have it — your own layered paper light box. This process is slow, meditative, and incredibly satisfying. If you end up making one, I’d love to hear about your design.
Thank you for reading 🤍

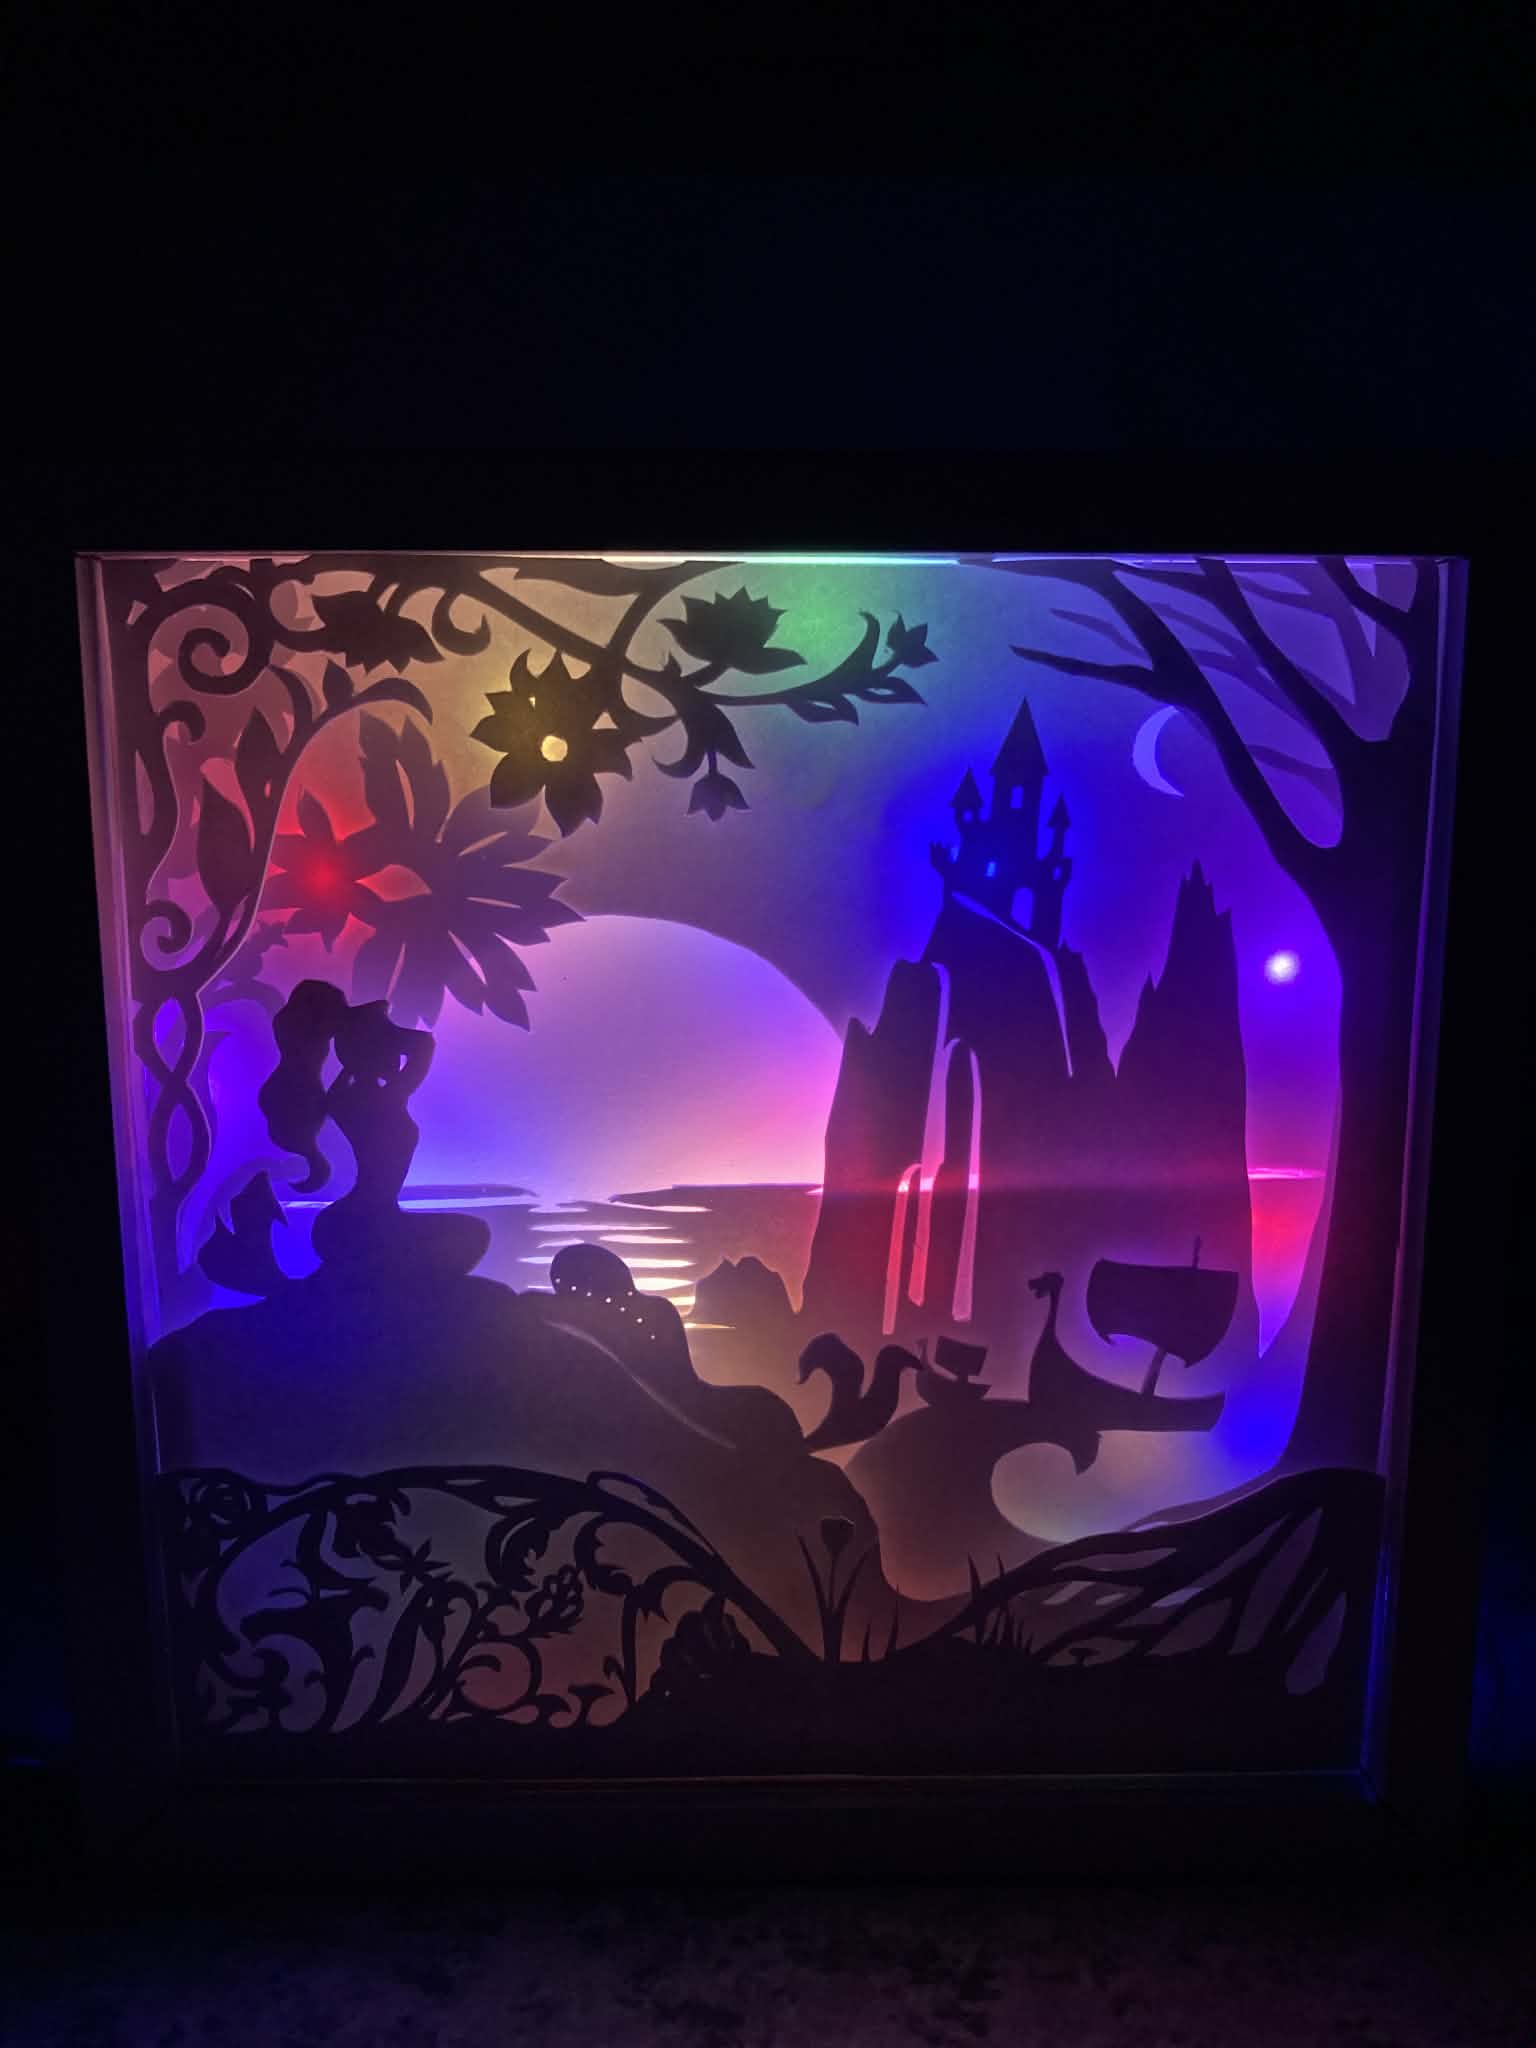
This was my first paper lantern (which was later destroyed by my baby niece) but I plan to redo it and make some changes since I noticed some issues with the layers.
As for my inspiration for the Wizard paper box; it was given from this photo below.
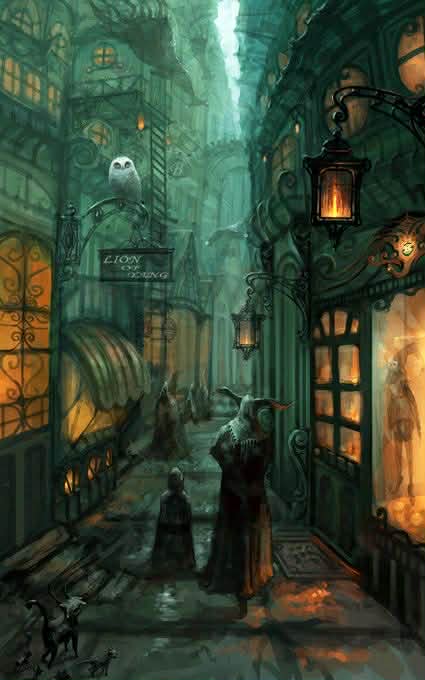
Street alley by ~ZERG118 on deviantART